路径填充
1. 前言
我们之前学习的教程主要内容都以绘制路径和画轮廓线为主,今天我们将学习一个新的概念内容:填充路径。
2. 利用 fill 方法填充路径
填充路径,填充的必须是路径,所以我们得先有路径才能填充,需要注意,这里的路径不能是一条线段,最少需要一个两条边的折线。下面我们就以案例的形式学习一下“填充”相关的内容。
2.1 填充矩形
我们先用上一小节学习的 rect 方法绘制一个矩形路径然后填充。
先看整体案例:
<!DOCTYPE html>
<html>
<head>
	<meta charset="utf-8">
	<title>慕课网Wiki</title>
    <style>
        #imooc{
            border:1px solid #ccc;
        }
    </style>
</head>
<body>

	<canvas id="imooc">您的浏览器不支持 HTML5 canvas 标签</canvas>

	<script>
		const canvas = document.getElementById('imooc');
		const ctx = canvas.getContext('2d');
		ctx.strokeStyle="blue";
		ctx.lineWidth=8;
		ctx.rect(10,10,200,100);

		ctx.fill(); //直接填充路径
	</script>
</body>
</html>
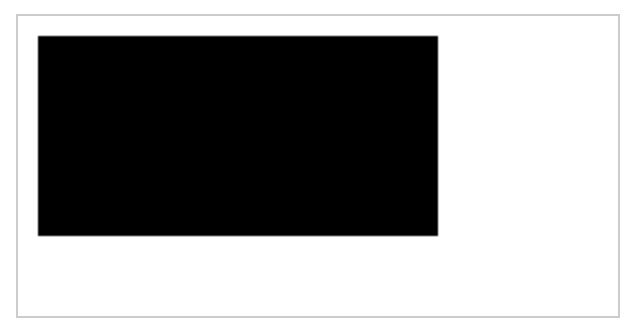
运行结果:

我们从案例中可以看到,调用 fill 函数,会使用黑色把整个矩形框填满,这样的效果就是填充。当然,我们也可以利用 fillStyle 属性设定填充颜色。
2.2 设定 fillStyle 属性
fillStyle 属性的作用是设定填充内容的颜色,它和设定 strokeStyle 描边属性一样。
先看整体案例:
<!DOCTYPE html>
<html>
<head>
	<meta charset="utf-8">
	<title>慕课网Wiki</title>
    <style>
        #imooc{
            border:1px solid #ccc;
        }
    </style>
</head>
<body>

	<canvas id="imooc">您的浏览器不支持 HTML5 canvas 标签</canvas>

	<script>
		const canvas = document.getElementById('imooc');
		const ctx = canvas.getContext('2d');
		ctx.moveTo(10,10);
		ctx.lineTo(10,100);
		ctx.lineTo(200,100);
		ctx.closePath();

		ctx.fillStyle="#cccccc" // 设定填充颜色
		ctx.fill();
	</script>
</body>
</html>
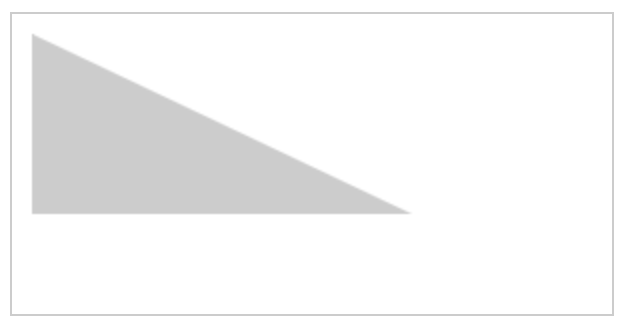
运行结果:

我们从案例中可以看到,设定了填充颜色后再调用 fill 函数,会使用设定的颜色把整个路径填满。
3. stroke() 和 fill() 对比学习
我们知道,stroke 方法作用是描边,fill 方法作用是填充,我们来整体再回顾学习一下这两个方法。
先看整体案例:
<!DOCTYPE html>
<html>
<head>
	<meta charset="utf-8">
	<title>慕课网Wiki</title>
    <style>
        #imooc{
            border:1px solid #ccc;
        }
    </style>
</head>
<body>

	<canvas id="imooc">您的浏览器不支持 HTML5 canvas 标签</canvas>

	<script>
		const canvas = document.getElementById('imooc');
		const ctx = canvas.getContext('2d');

		ctx.moveTo(10,10);
		ctx.lineTo(10,100);
		ctx.lineTo(200,100);
		ctx.lineTo(200,10);
		ctx.closePath();

		ctx.strokeStyle="blue";
		ctx.fillStyle="#ccc";

		ctx.lineWidth=8;

		ctx.stroke();
		ctx.fill();

	</script>
</body>
</html>
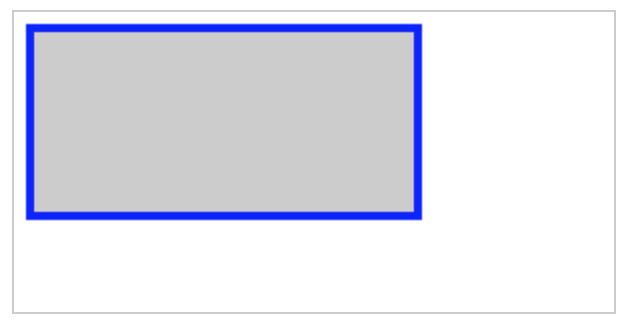
运行结果:

我们将上面案例的绘图内容拆分讲解:
-
获取 canvas 的渲染上下文。
const canvas = document.getElementById('imooc'); const ctx = canvas.getContext('2d'); -
绘制一个图形路径。
ctx.moveTo(10,10); ctx.lineTo(10,100); ctx.lineTo(200,100); ctx.lineTo(200,10); ctx.closePath(); -
分别设定描边的颜色和填充的颜色。
ctx.strokeStyle="blue"; ctx.fillStyle="#ccc"; -
描边和填充。
提示:当设定了描边宽度以后,这里先描边后填充和先填充后描边绘制出来的图形是不一样的,后绘制的内容会覆盖前面绘制的内容。
ctx.stroke();
ctx.fill();
我们从案例中可以看到,路径的描边和填充在使用上都是相似的。
4. 方法整理
本小节中我们使用到一个新的方法 fill。
4.1 fill() 方法
fill() 方法是用于填充当前已存在的路径的方法,如果没有设置填充颜色,则默认使用黑色填充。
5. 属性整理
本小节中我们使用到一个新的属性 fillStyle。
5.1 fillStyle 属性
fillStyle 属性用于设置填充的颜色,它和 strokeStyle 在使用上是一致的。
ctx.fillStyle = "blue"
ctx.fillStyle = "#cccccc"
ctx.fillStyle = "#ccc"
ctx.fillStyle = "rgb(200, 200, 200)"
ctx.fillStyle = "rgba(200, 200, 200, 0.5)"
ctx.fillStyle = "hsl(0, 100%, 50%)"
ctx.fillStyle = "hsla(0, 100%, 50%, 0.5)"
上面7种写法都是支持的。
6. 总结
本小节我们主要学习了利用 fill 方法填充一个图形。


 水车_ ·
水车_ ·
 2026 imooc.com All Rights Reserved |