上节给整个调用链的体系结构讲述了,按照我的流程可以搭建出来调用链的项目。架构目标基本功能,可扩展性,可配置性,可运维性。识别系统的方式,就是通过唯一性的包名来完成的。就像克隆人一样的基因都是一样的被识别成一个人。本次了解埋点和插撞具体是如何实现的。
(一)什么是埋点
埋点就是在方法前后插入代码或指令,去获取方法的执行时间或参数等信息。
- 常用办法
1.硬编码
指定某个方法,在方法的开始和结束增加begin和end,通过end-begin查看方法的执行时间,在方法内的特定内容增加记录信息。
2.AOP拦截
cat等框架都是通过AOP或者是fiter来实现的,底层还是通过动态代理来实现的。如果项目比较多,工作量也是相当大的。
3.动态字节码插桩
通过JVM加载参数,不需要AOP,不需要硬解码,
(二)什么是插桩
JAVA源代码要先编译成Class文件,文件的内容就由若干条JVM指令组成的集合(即代码逻辑)。插桩的过程就是将这这些指令,拆开来,然后在插入监控所需指令,最后进行重新组装生成新的Class字节。
- java ====> class ===>系统指令
翻译 成我们人类可以阅读的系统指令
(三)字节码插桩所用到的技术
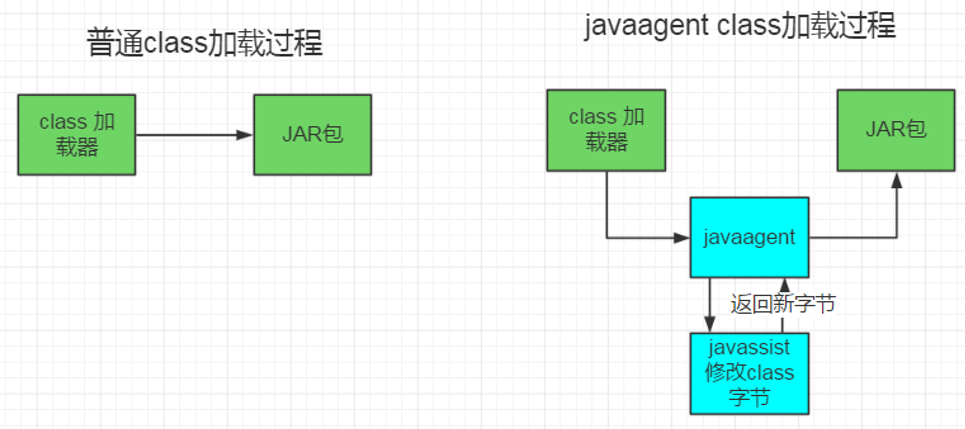
1.javaagent 代理拦截(插桩的入口)
2.javassist 字节码修改工具 (怎么插)
- Java Agent
javaagent 是java1.5之后引入的特性,其主要作用是在class 被加载之前对其拦截,已插入我们的监听字节码。
其实在110的那篇都说过了java agent,这次我们自己演示一把
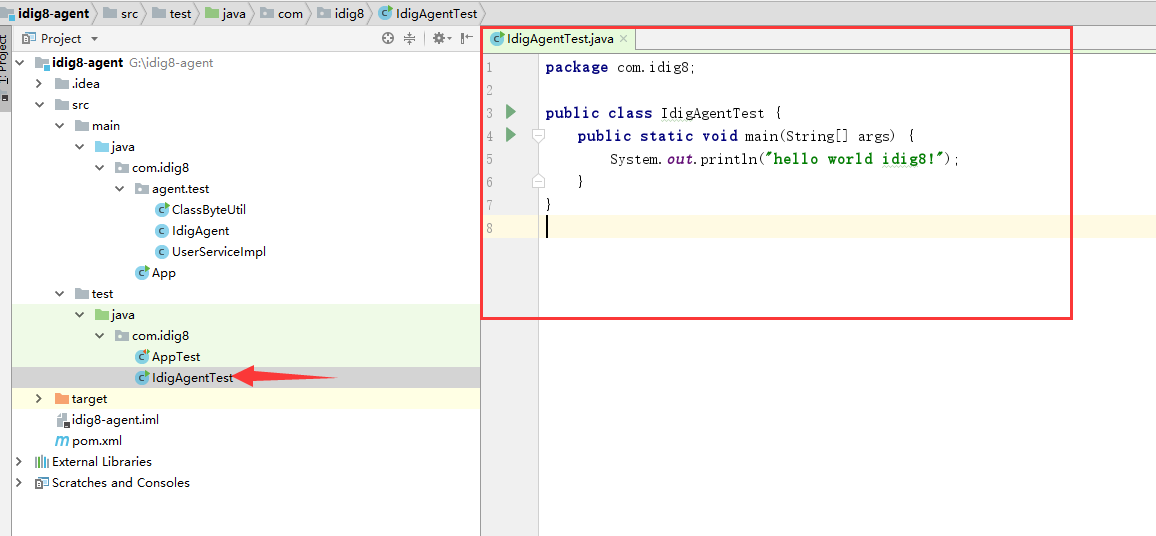
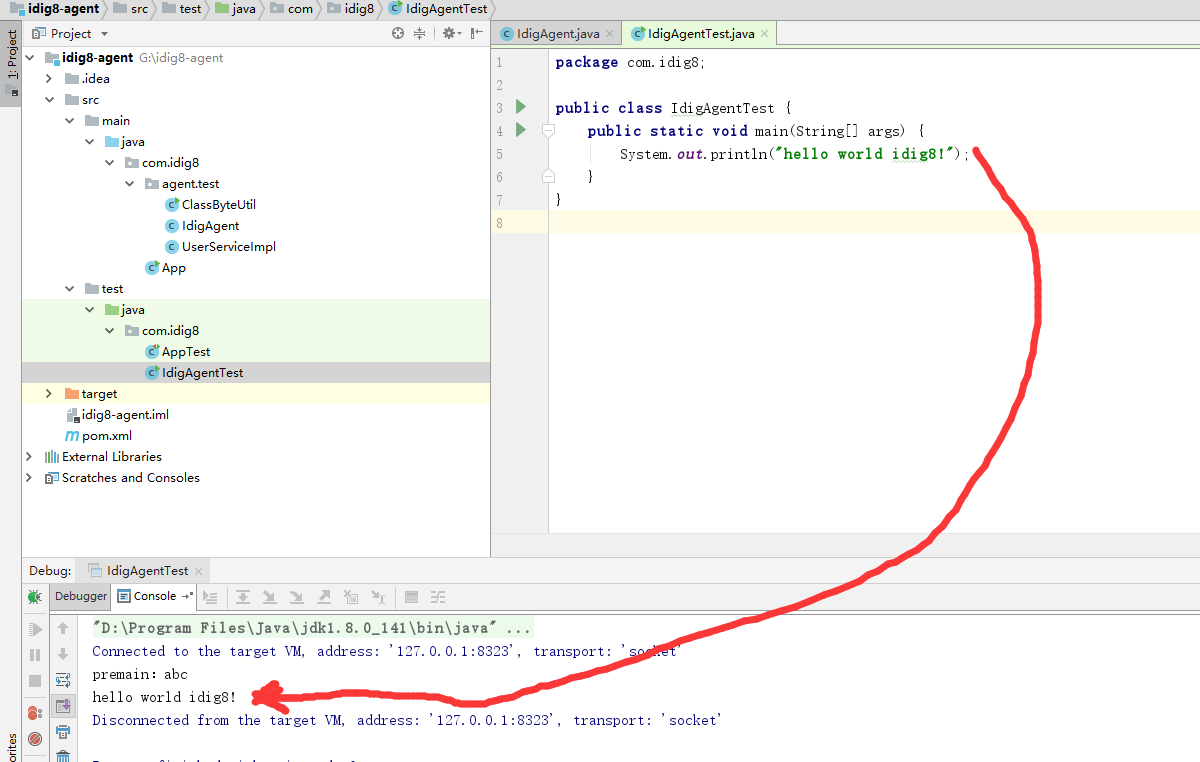
在test中新建立一个类IdigAgentTest
package com.idig8;

public class IdigAgentTest {
    public static void main(String[] args) {
        System.out.println("hello world idig8!");
    }
}
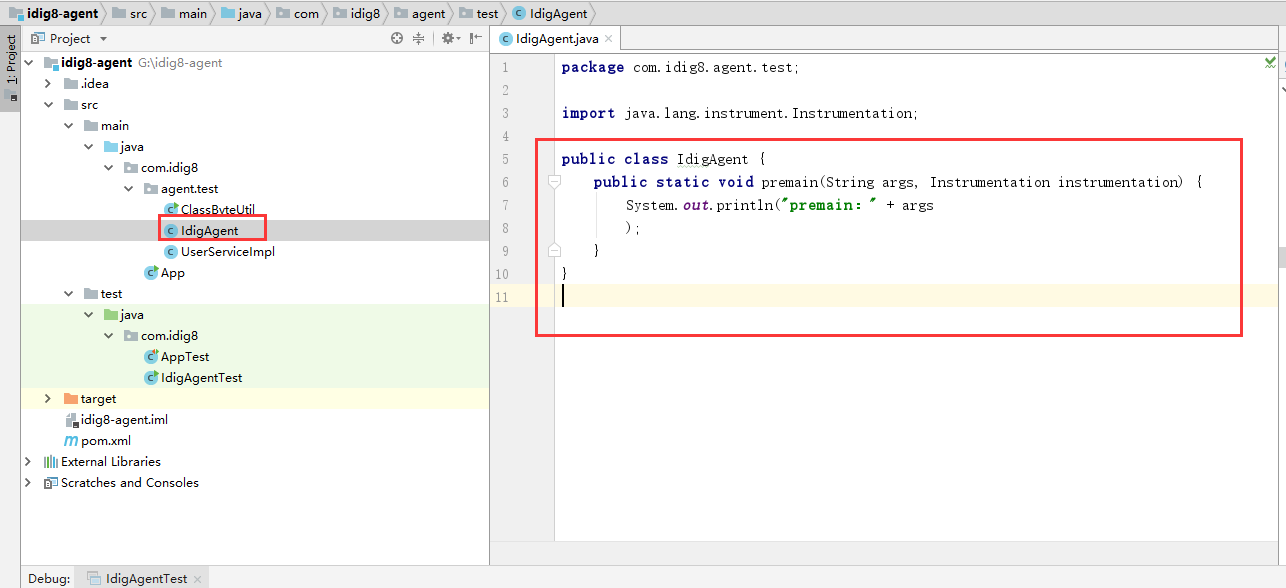
在main中新建立一个类IdigAgent
package com.idig8.agent.test;

import java.lang.instrument.Instrumentation;

public class IdigAgent {
    public static void premain(String args, Instrumentation instrumentation) {
        System.out.println("premain:" + args
        );
    }
}
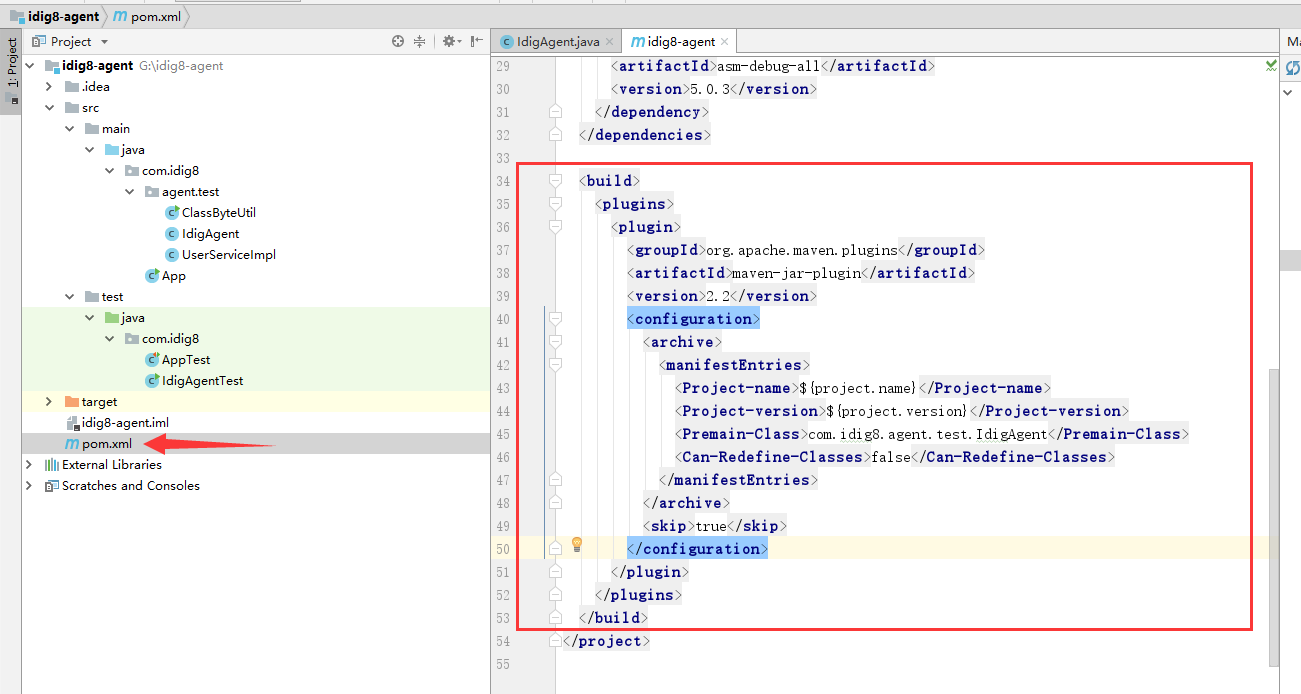
pom找那个需要添加打包工具
<?xml version="1.0" encoding="UTF-8"?>

<project xmlns="http://maven.apache.org/POM/4.0.0" xmlns:xsi="http://www.w3.org/2001/XMLSchema-instance"
  xsi:schemaLocation="http://maven.apache.org/POM/4.0.0 http://maven.apache.org/xsd/maven-4.0.0.xsd">
  <modelVersion>4.0.0</modelVersion>

  <groupId>com.idig8</groupId>
  <artifactId>idig8-agent</artifactId>
  <version>1.0-SNAPSHOT</version>

  <name>idig8-agent</name>
  <url>http://www.idig8.com</url>

  <properties>
    <project.build.sourceEncoding>UTF-8</project.build.sourceEncoding>
    <maven.compiler.source>1.7</maven.compiler.source>
    <maven.compiler.target>1.7</maven.compiler.target>
  </properties>

  <dependencies>
    <dependency>
      <groupId>junit</groupId>
      <artifactId>junit</artifactId>
      <version>4.11</version>
      <scope>test</scope>
    </dependency>
    <dependency>
      <groupId>org.ow2.asm</groupId>
      <artifactId>asm-debug-all</artifactId>
      <version>5.0.3</version>
    </dependency>
  </dependencies>

  <build>
    <plugins>
      <plugin>
        <groupId>org.apache.maven.plugins</groupId>
        <artifactId>maven-jar-plugin</artifactId>
        <version>2.2</version>
        <configuration>
          <archive>
            <manifestEntries>
              <Project-name>${project.name}</Project-name>
              <Project-version>${project.version}</Project-version>
              <Premain-Class>com.idig8.agent.test.IdigAgent</Premain-Class>
              <Can-Redefine-Classes>false</Can-Redefine-Classes>
            </manifestEntries>
          </archive>
          <skip>true</skip>
        </configuration>
      </plugin>
    </plugins>
  </build>
</project>
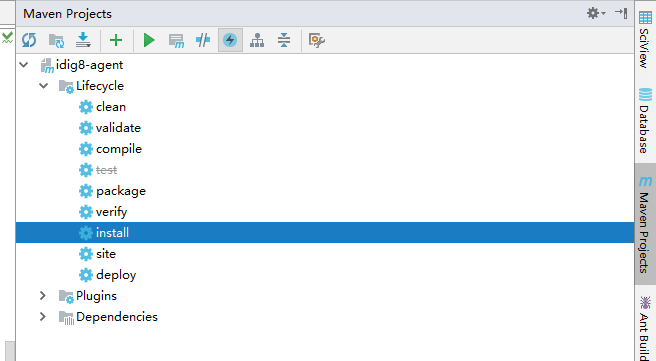
maven(clear,install)跳过test
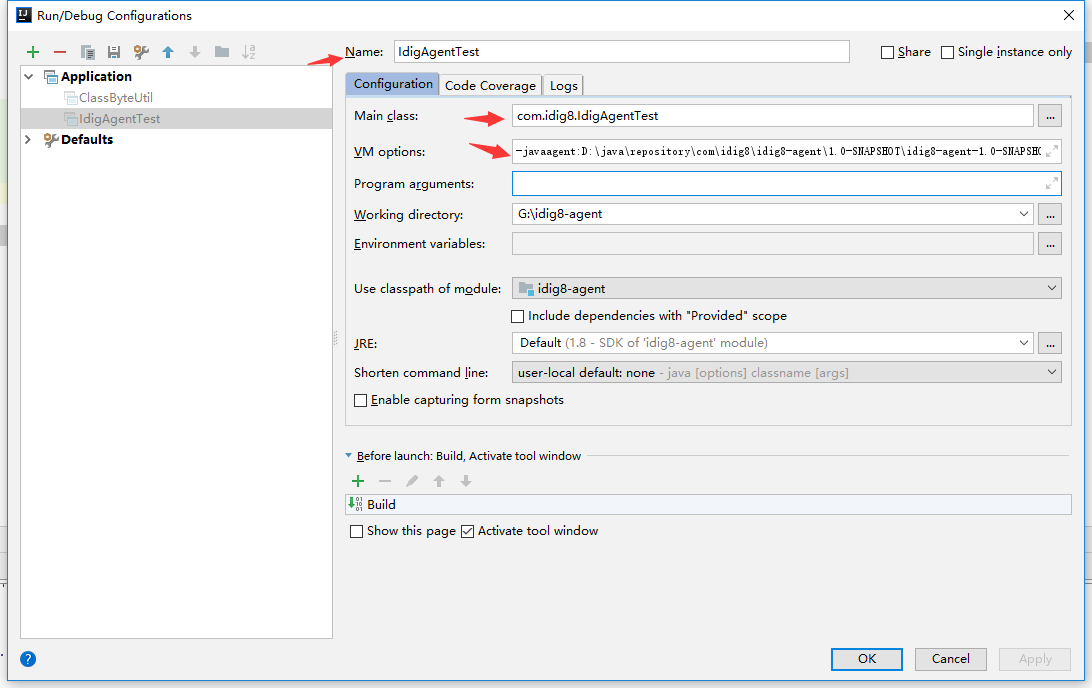
加载刚刚打包的好的jar,放入要运行的测试test的JVM中
-javaagent:D:\java\repository\com\idig8\idig8-agent\1.0-SNAPSHOT\idig8-agent-1.0-SNAPSHOT.jar=abc
abc 是增加的变量参数
javaagent在打印之前先打印了,premain
- javassit介绍
Javassist是一个开源的分析、编辑和创建Java字节码的类库。其主要的优点,在于简单,而且快速。直接使用java编码的形式,而不需要了解虚拟机指令,就能动态改变类的结构,或者动态生成注:也可以使用ASM实现,但需要会操作字节码指令,学习使用成本高。
- 代码讲解
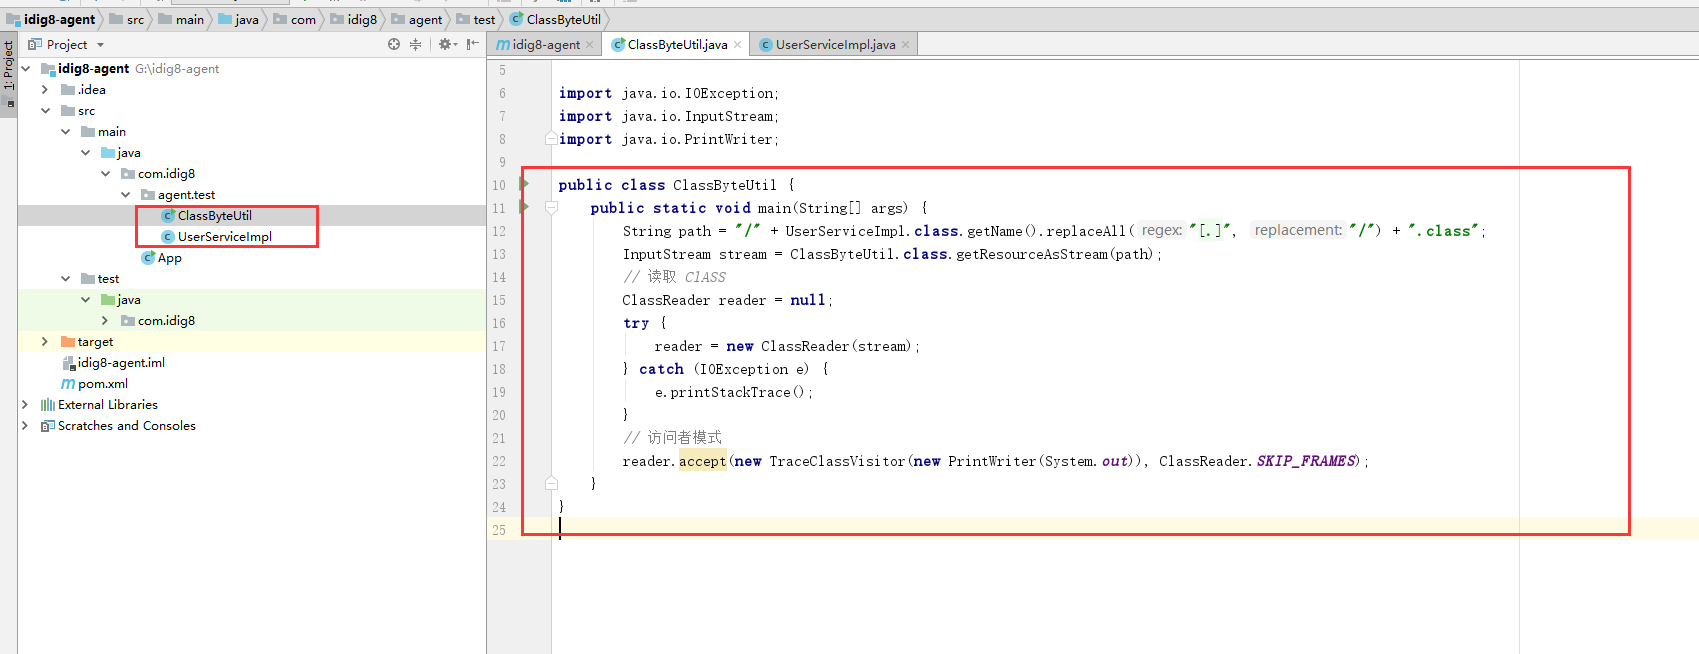
ClassByteUtil
package com.idig8.agent.test;

import org.objectweb.asm.ClassReader;
import org.objectweb.asm.util.TraceClassVisitor;

import java.io.IOException;
import java.io.InputStream;
import java.io.PrintWriter;

public class ClassByteUtil {
    public static void main(String[] args) {
        String path = "/" + UserServiceImpl.class.getName().replaceAll("[.]", "/") + ".class";
        InputStream stream = ClassByteUtil.class.getResourceAsStream(path);
        // 读取 ClASS
        ClassReader reader = null;
        try {
            reader = new ClassReader(stream);
        } catch (IOException e) {
            e.printStackTrace();
        }
        // 访问者模式
        reader.accept(new TraceClassVisitor(new PrintWriter(System.out)), ClassReader.SKIP_FRAMES);
    }
}
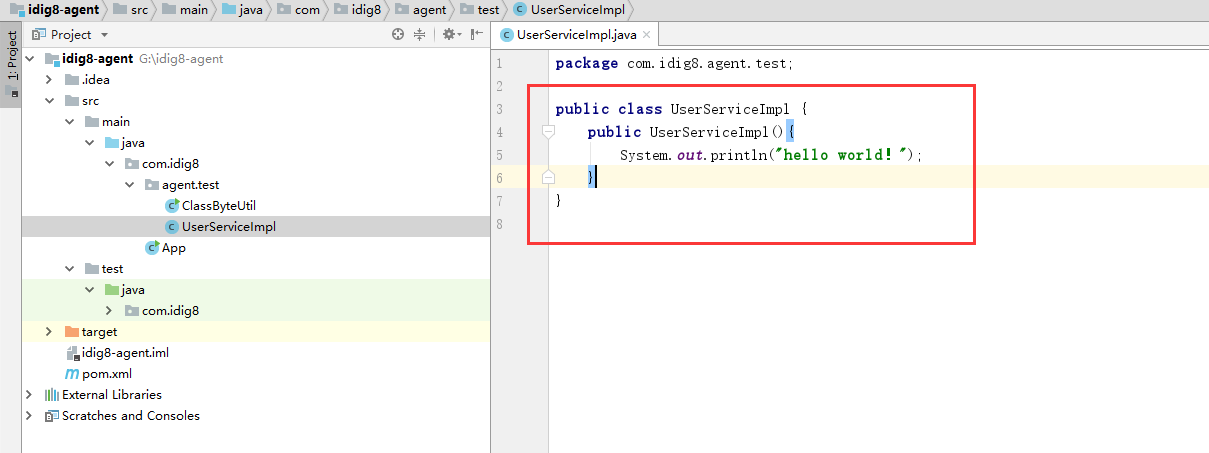
UserServiceImpl
package com.idig8.agent.test;

public class UserServiceImpl {
    public UserServiceImpl(){
        System.out.println("hello world!");
    }
}
启动ClassByteUtil 程序,JVM的指令码
// class version 51.0 (51)
// access flags 0x21
public class com/idig8/agent/test/UserServiceImpl {

  // compiled from: UserServiceImpl.java

  // access flags 0x1
//在JVM初始化方法就是尖括号 init
  public <init>()V
   L0
    //第4行,属于L0
    LINENUMBER 4 L0
    ALOAD 0
    INVOKESPECIAL java/lang/Object.<init> ()V
   L1
    LINENUMBER 5 L1
   //执行静态代码的指令
    GETSTATIC java/lang/System.out : Ljava/io/PrintStream;
   //LDC 装载一个常量
    LDC "hello world\uff01"
    // INVOKEVIRTUAL 执行一个指令
    INVOKEVIRTUAL java/io/PrintStream.println (Ljava/lang/String;)V
   L2
    LINENUMBER 6 L2
   // 默认加入return
    RETURN
   L3
    LOCALVARIABLE this Lcom/idig8/agent/test/UserServiceImpl; L0 L3 0
    //operand stack的max(length)=2
    MAXSTACK = 2
   //本地存储有1个值,因为是非静态方法需要加载一个变量this
    MAXLOCALS = 1
}
PS:代码比较简单,但是需要明白什么是埋点和插桩,通过2个类完成javaagent和javassit,其实在几年前这个方式都很普遍了,只是大家都不知道,各种java正版的破解插件都是运用了这种技术。老铁是不是感觉很惊讶哈哈。
共同学习,写下你的评论
暂无评论
作者其他优质文章


