rust+wasm写前端真香之嵌套与循环
[sealer]是阿里巴巴开源的基于kuberentes的集群镜像开源技术,可以把整个集群整体打包。
Sealer Cloud可以在线化帮助用户进行集群打包分享和运行,Sealer cloud前后端也使用了非常先进的
rust+wasm技术实现,本短文接上一篇继续讲一些代码结构,嵌套以及列表循环相关内容,让我们看下
rust有多优雅。
代码结构
[sealer源码]里面直接有具体的代码供参考。
当然有兴趣的同学可以参与到项目开发中来。
.
├── components
│   ├── footer.rs
│   ├── header.rs # UI的header
│   ├── image_info.rs
│   ├── image_list.rs # 主体内容,镜像列表
│   └── mod.rs
├── main.rs # 主函数
├── routes
│   ├── login.rs
│   └── mod.rs
├── services
│   ├── mod.rs
│   └── requests.rs
└── types
模块导入
使用函数让你的html更清晰
impl Component for Header {
...
    fn view(&self) -> Html {
        html! {
            <nav class="navbar is-primary block" role="navigation" aria-label="main navigation">
                { self.logo_name() }
                { self.search() }
                { self.login() }
            </nav>
        }
    }
}
我们一定要避免把很多html都写在一个代码块中,yew里面就可以通过函数的方式把它们进行切分。
impl Header {
   fn logo_name(&self) -> Html {
       html! {
           <div class="navbar-brand">
            <div class="navbar-item">
                <i class="far fa-cloud fa-2x fa-pull-left"></i>
                <strong> { "Sealer Cloud" }</strong>
            </div>
           </div>
       }
   }
...
}
这样看起来就很清晰,view函数里调用下面的一个个Html模块。
在main中调用header模块
我们在header中已经实现了一个Header的Component,首先在mod.rs中把模块暴露出去:
pub mod header;
pub mod image_list;
在main.rs中导入crate:
use crate::components::{header::Header, image_list::Images};
在main的主UI中导入header UI
通过
这样的方式即可fn view(&self) -> Html {
html! {
<div>
<Header />
<Images />
</div>
}
}
镜像列表List循环处理
先定义一个列表数组:
pub struct Image {
    name: String,
    body: String,
}

pub struct Images{
    // props: Props,
    images: Vec<Image>
}
在create函数中做一些初始化的事情:
    fn create(props: Self::Properties, _: ComponentLink<Self>) -> Self {
        Images{
            images: vec![
                Image {
                  name: String::from("kubernetes:v1.19.9"),
                  body: String::from("sealer base image, kuberntes alpine, without calico")
                },
                ...]
在UI中进行循环迭代:
   fn image_list(&self) -> Html {
       html! {
          <div class="columns is-multiline">
            {
                for self.images.iter().map(|image|{
                    self.image_info(image)
                })
            }
          </div>
       }
   }
这里给map传入的是一个匿名函数,改函数返回单个镜像的详情。
单个镜像信息如下渲染:
   fn image_info(&self,image: &Image) -> Html {
       html! {
        <div class="column is-6">
          <div class="card">
            <header class="card-header">
              <p class="card-header-title">
                { image.name.to_string() }
              </p>
              <button class="card-header-icon" aria-label="more options">
              <span class="icon">
                <i class="fal fa-expand" aria-hidden="true"></i>
              </span>
            </button>
            </header>
              <div class="card-content">
              <div class="content">
                { image.body.to_string() }
                 <br />
                <time datetime="2016-1-1">{ "11:09 PM - 1 Jan 2016" }</time>
              </div>
              </div>
           </div>
        </div>
       }
   }
这样一个镜像列表就做好了,是不是非常简单。
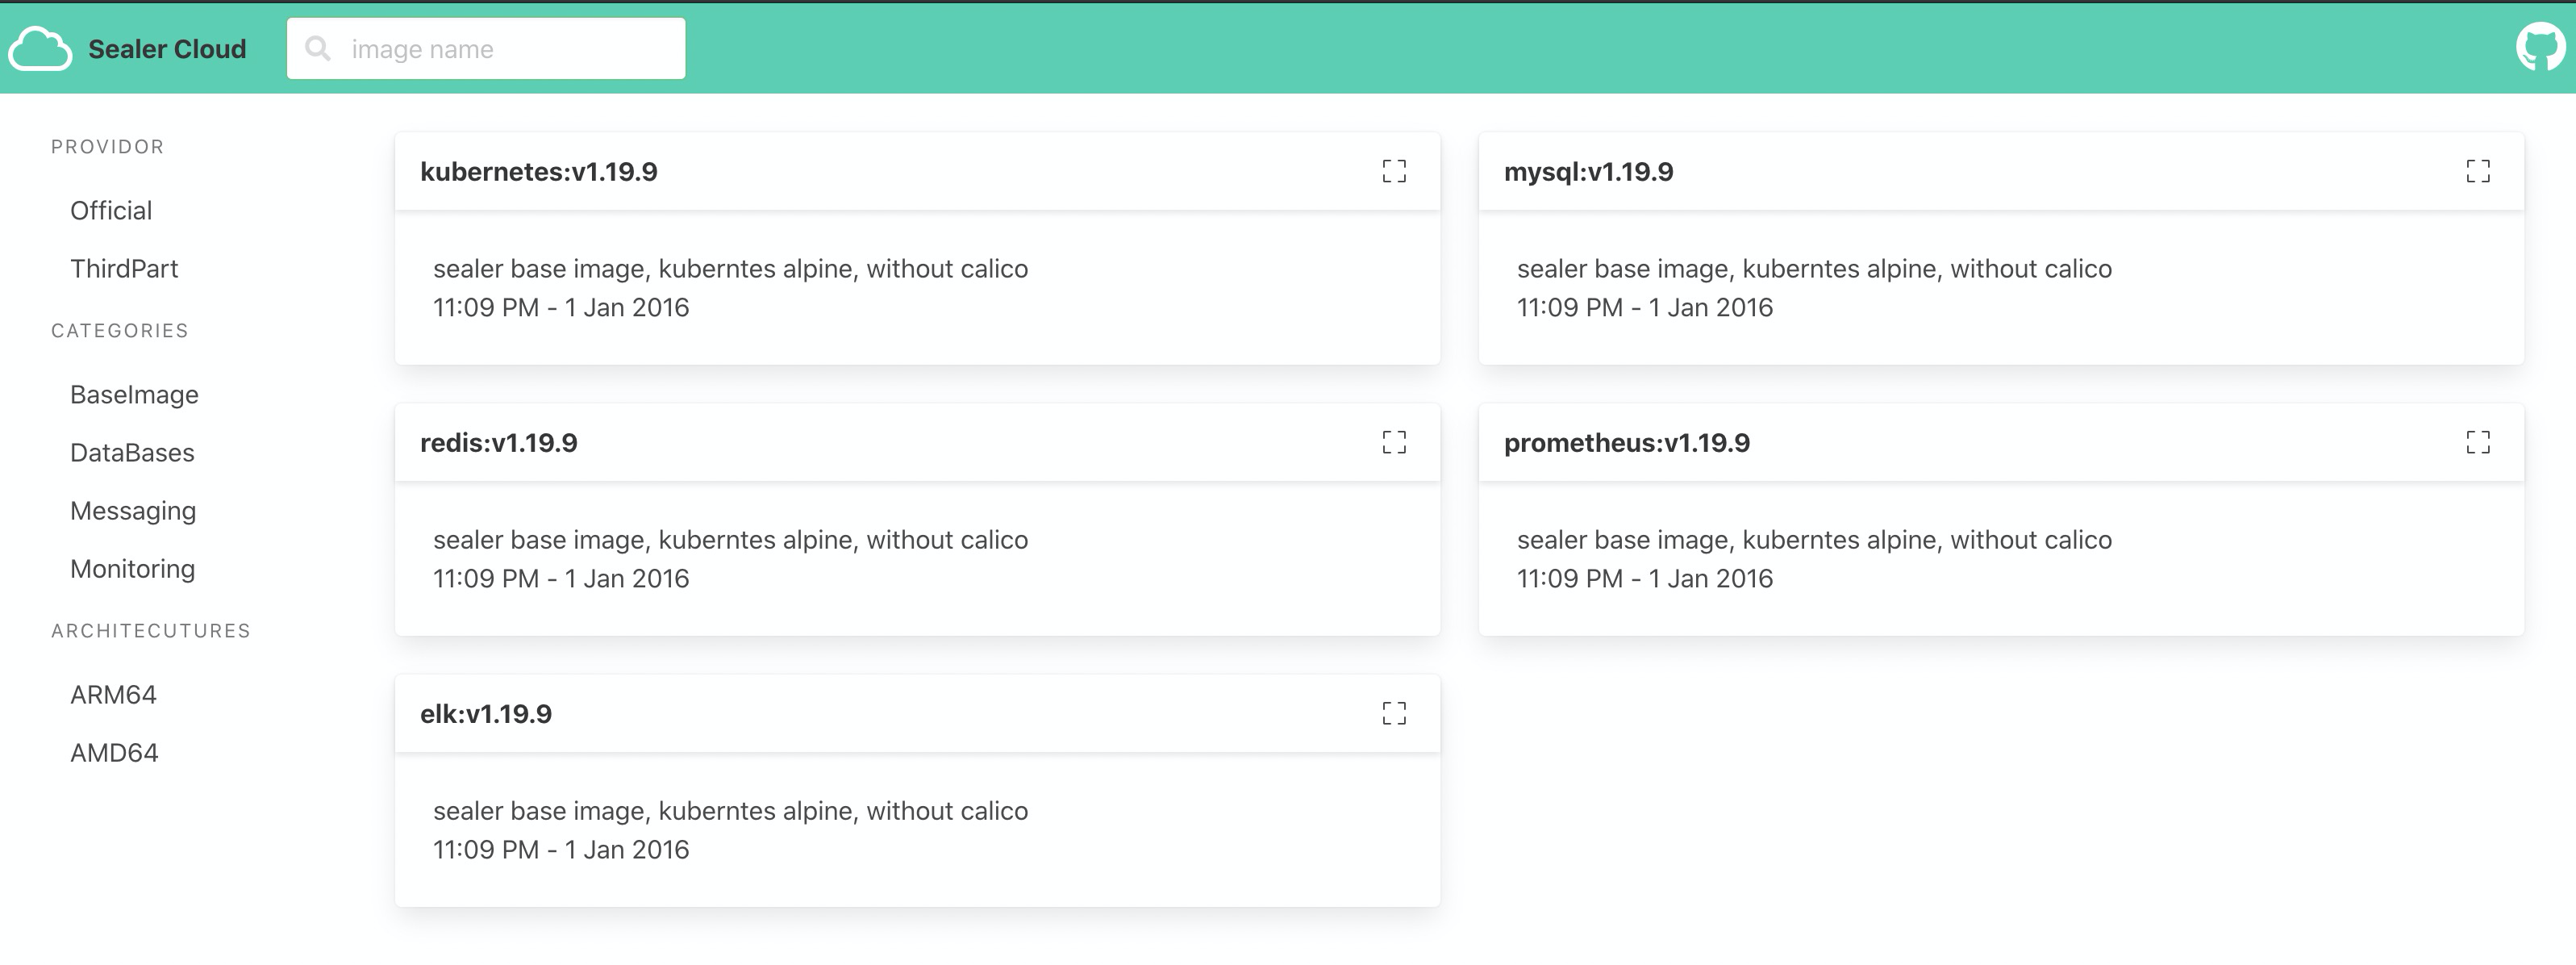
看一下整体效果:
点击查看更多内容
为 TA 点赞
评论
共同学习,写下你的评论
评论加载中...
作者其他优质文章
正在加载中
感谢您的支持,我会继续努力的~
扫码打赏,你说多少就多少
赞赏金额会直接到老师账户
支付方式
打开微信扫一扫,即可进行扫码打赏哦


