在《Java与WCF交互(一):Java客户端调用WCF服务》一文中,我描述了用axis2的一个Eclipse控件生成WCF的Java客户端代理类,后来有朋友建议用Xfire、CXF,一直没有尝试,今天有朋友指出JDK6可以用java自带的一个WSImport工具,试了下,果然很爽,这是一个exe文件,位于%JAVA_HOME%\bin下,它的官方使用说明,见:http://download-llnw.oracle.com/javase/6/docs/technotes/tools/share/wsimport.html,主要参数:
Option | Description |
|---|---|
-d <directory> | Specify where to place generated output files |
-b <path> | Specify external JAX-WS or JAXB binding files (Each |
-B <jaxbOption> | Pass this option to JAXB schema compiler |
-catalog | Specify catalog file to resolve external entity references, it supports TR9401, XCatalog, and OASIS XML Catalog format. Please read the documentation of catalog and see catalog sample. |
-extension | Allow vendor extensions (functionality not specified by the specification). Use of extensions may result in applications that are not portable or may not interoperate with other implementations |
-help | Display help |
-httpproxy:<host>:<port> | Specify an HTTP proxy server (port defaults to 8080) |
-keep | Keep generated files |
-p | Specifying a target package via this command-line option, overrides any wsdl and schema binding customization for package name and the default package name algorithm defined in the specification |
-s <directory> | Specify where to place generated source files |
-verbose | Output messages about what the compiler is doing |
-version | Print version information |
-wsdllocation <location> | @WebServiceClient.wsdlLocation value |
-target | Generate code as per the given JAX-WS specification version. version 2.0 will generate compliant code for JAX-WS 2.0 spec. |
-quiet | Suppress wsimport output |
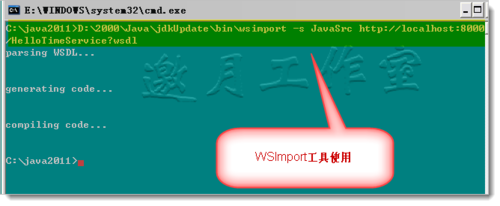
示例:wsimport -s JavaSrc http://stockquote.xyz/quote?wsdl
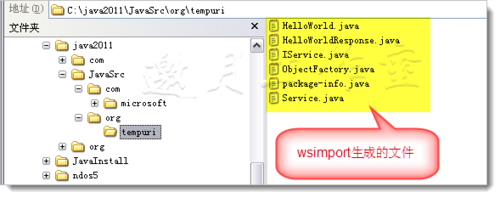
将在当前路径的JavaSrc下生成相关的Java类,直接复制到项目的Src目录下即可使用。
下面还是以上次创建的http://localhost:8000/HelloTimeService?wsdl为类,测试过程如下:
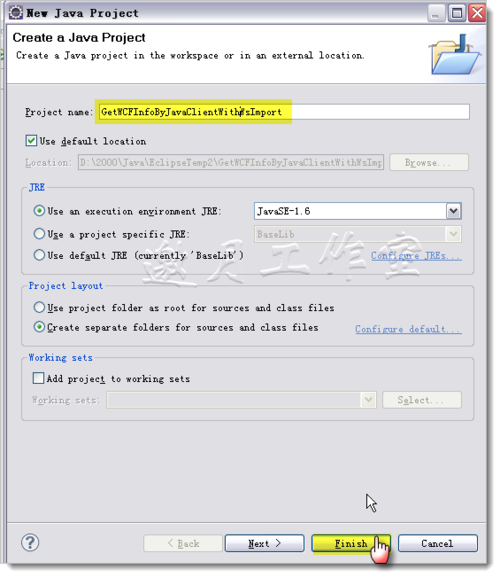
新建一java Project,如图:
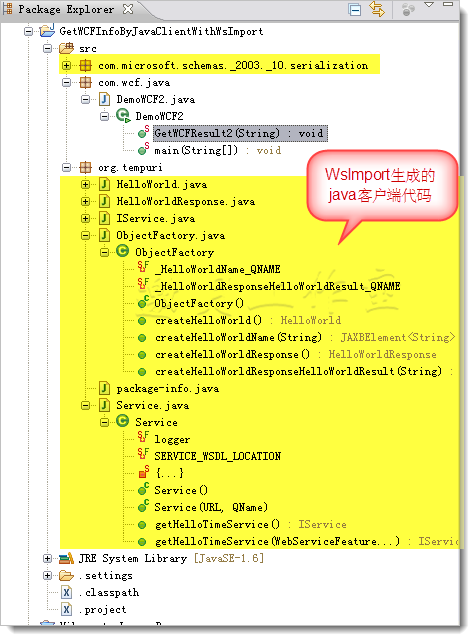
将上面生成的java文件复制到Src目录下,项目结构如图:
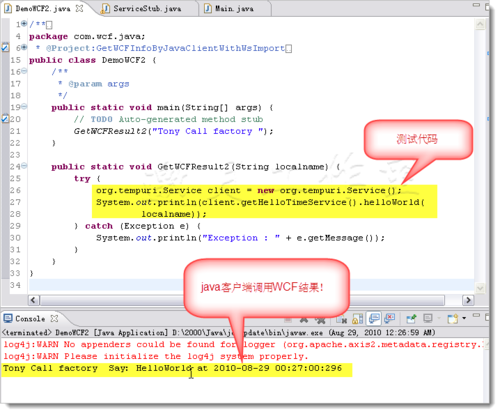
测试代码也很简洁:
小结:这种方式与Axis2生成的Stub方式其实非常类似,只不过没有生成测试代码。结构还算清晰。
共同学习,写下你的评论
评论加载中...
作者其他优质文章


